

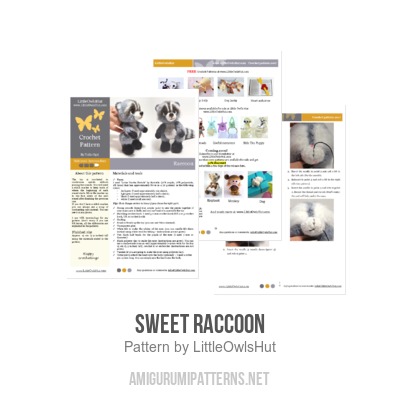
$ 4.99
US English pattern by LittleOwlsHut. Includes step-by-step pictures.
LANGUAGE: English
--------------------------------------
SKILL LEVEL: Intermediate
--------------------------------------
TRY BEFORE YOU BUY
--------------------------------------
Download pattern example HERE >> https://goo.gl/E3CH11
Copy and past link into your browser to download the pattern example.
FINISHED SIZE:
--------------------------------------
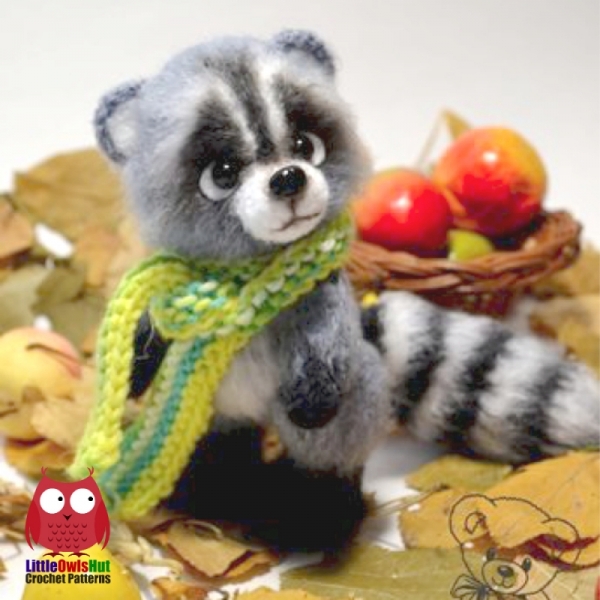
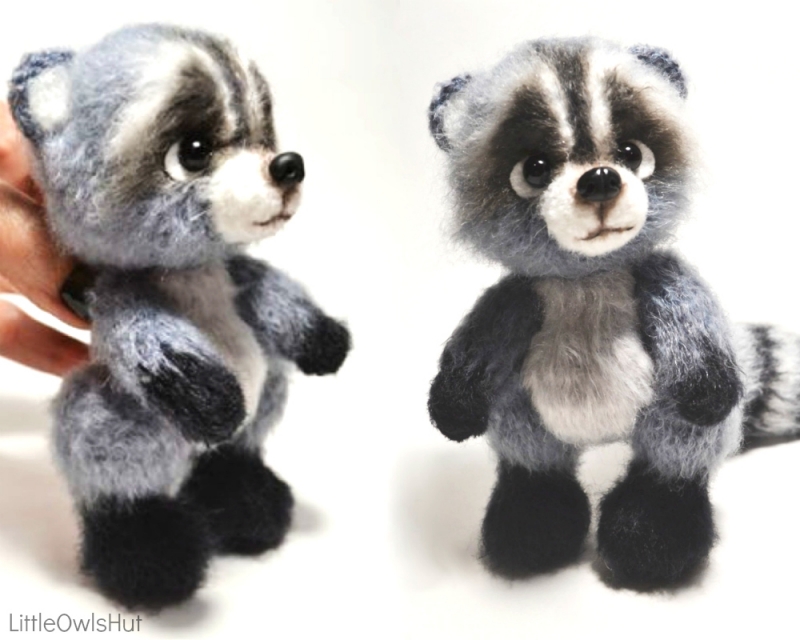
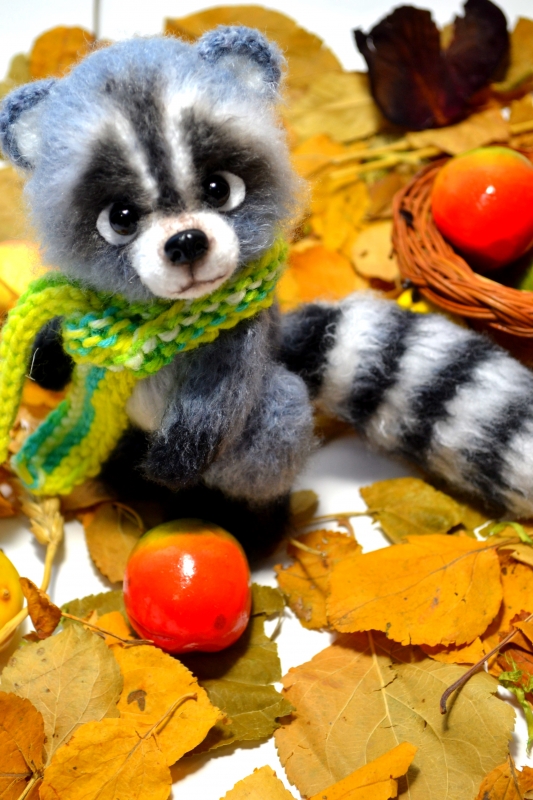
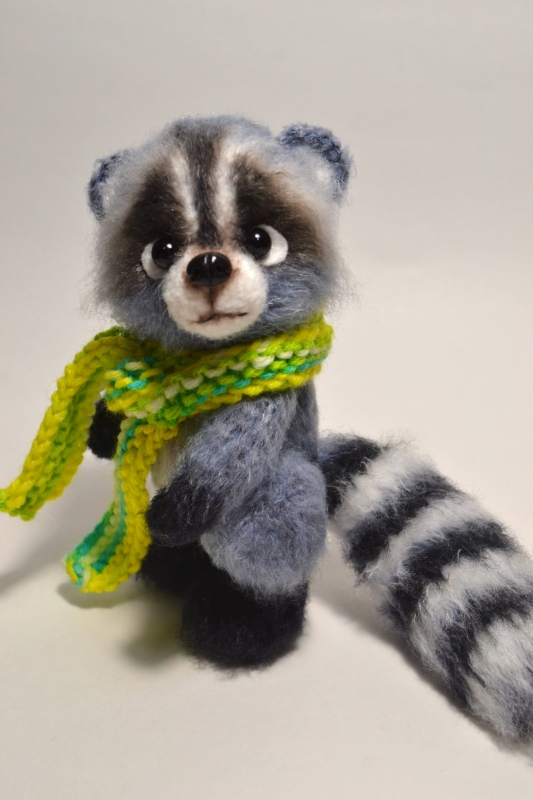
Approx. 15 cm (5.9 inches) tall using the materials stated in the pattern.
SKILLS REQUIRED:
--------------------------------------
Crochet in rounds
Single crochet
Increasing
Decreasing
Slip stitch
Working with fluffy yarn
MATERIALS AND TOOLS
--------------------------------------
✓ Yarn
I used “Lotus Travka Stretch” by Kamteks (70% acrylic, 28% polyamide, 2% lycra) that has approximately 80 m in a 50 g skein) in the following colors:
- dark grey (I used approximately one skein);
- light grey (I used approximately half a skein);
- black (I used approximately half a skein);
- white (I used small amount).
Tip: Go to Gauge section to know if you chose the right yarn.
✓ Strong smooth thread (i.e. acrylic yarn) to sew the pieces together if your main yarn is fluffy and you can’t use it to assemble the toy.
✓ Matching crochet hook. I used 3.0 mm crochet hook (US 2 or 3 crochet hook, UK 11 crochet hook).
✓ Stuffing
✓ Brush to brush up the toy (you can use Velcro instead).
✓ Transparent glue.
✓ White felt to make the whites of the eyes (you can needle felt them instead using white wool for felting – instructions are not given).
✓ Two black half beads for the pupils of the eyes (I used 7 mm in diameter).
✓ Black polymer clay to make the nose (instructions are given). You can use a ready-made nose as well (approximately 7-9 mm wide for the toy 15 cm (5.9 inches) tall), crochet it or embroider (instructions are not given).
✓ Varnish (if you are going to make the nose using polymer clay).
✓ Cotter pin to attach the head onto the body (optional) – I used a cotter pin 25 mm long. You can simply sew the head onto the body.
✓ Two discs for a cotter pin joint – I used 20 mm in diameter. You can use plastic or fiberboard discs.
✓ Any material to tint the toy (pencils, dry pastels, oil paints, etc.) – I used oil pastels.
✓ Strong black thread to needle sculpt the muzzle.
ABOUT THIS PATTERN
--------------------------------------
Pattern written using USA terminology
This pattern is easy to follow with step-by-step instructions (20 pages with detailed instructions, tips, photos illustrating the process)
Stitches used: chain, slip stitch, magic ring, single crochet, increase, double crochet, crochet into a ring
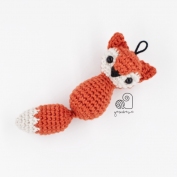
Measurement: Approx. 15 cm (5.9 inches) tall
This pattern is for personal use. Please do not distribute, reproduce, share or sell this pattern. You may sell finished items made with this pattern, though only in small quantities, provided you credit the original designer. Wholesale is not allowed.
After your payment you will automatically receive a download link in the mailbox linked to your Paypal-account. Make sure you check this mailbox and its spam-folder. Please check the FAQ for all questions. Your payment will go to LittleOwlsHut (the creator of the pattern).


Trusted since 2010
And we couldn't be more proud about that!

Guaranteed AI-Free
Only real patterns,
checked & tested.

Top designers
Buy directly from the world's best creators.

Instant access
Download instantly,
crochet today!